
DIY Installation Tips for Truck Lift Kits: A Step-by-Step Guide


Understanding Truck Lift Kits
Installing a lift kit on your truck can significantly elevate both its aesthetics and off-road performance. Lift kits come in various types and sizes, each offering unique benefits. Before diving into the installation process, it's crucial to understand the purpose of your lift kit and the specific requirements of your truck model.
Lift kits generally fall into two categories: body lift kits and suspension lift kits. Body lift kits are designed to raise the truck's body off the frame, providing additional clearance for larger tires without altering the suspension. In contrast, suspension lift kits modify the vehicle's suspension system, enhancing ground clearance and off-road capability.
Preparation and Safety Measures
Before starting the installation, gather all necessary tools and components. A basic toolkit should include wrenches, jacks, and screwdrivers. Additionally, make sure you have the specific tools required for your lift kit's installation, which are usually listed in the kit's manual.
Safety is paramount when working on your truck. Ensure the vehicle is parked on a level surface and secured with wheel chocks. Wearing safety gear such as gloves and goggles can protect you from potential hazards during the installation process.
Step-by-Step Installation Guide
Step 1: Remove Existing Components
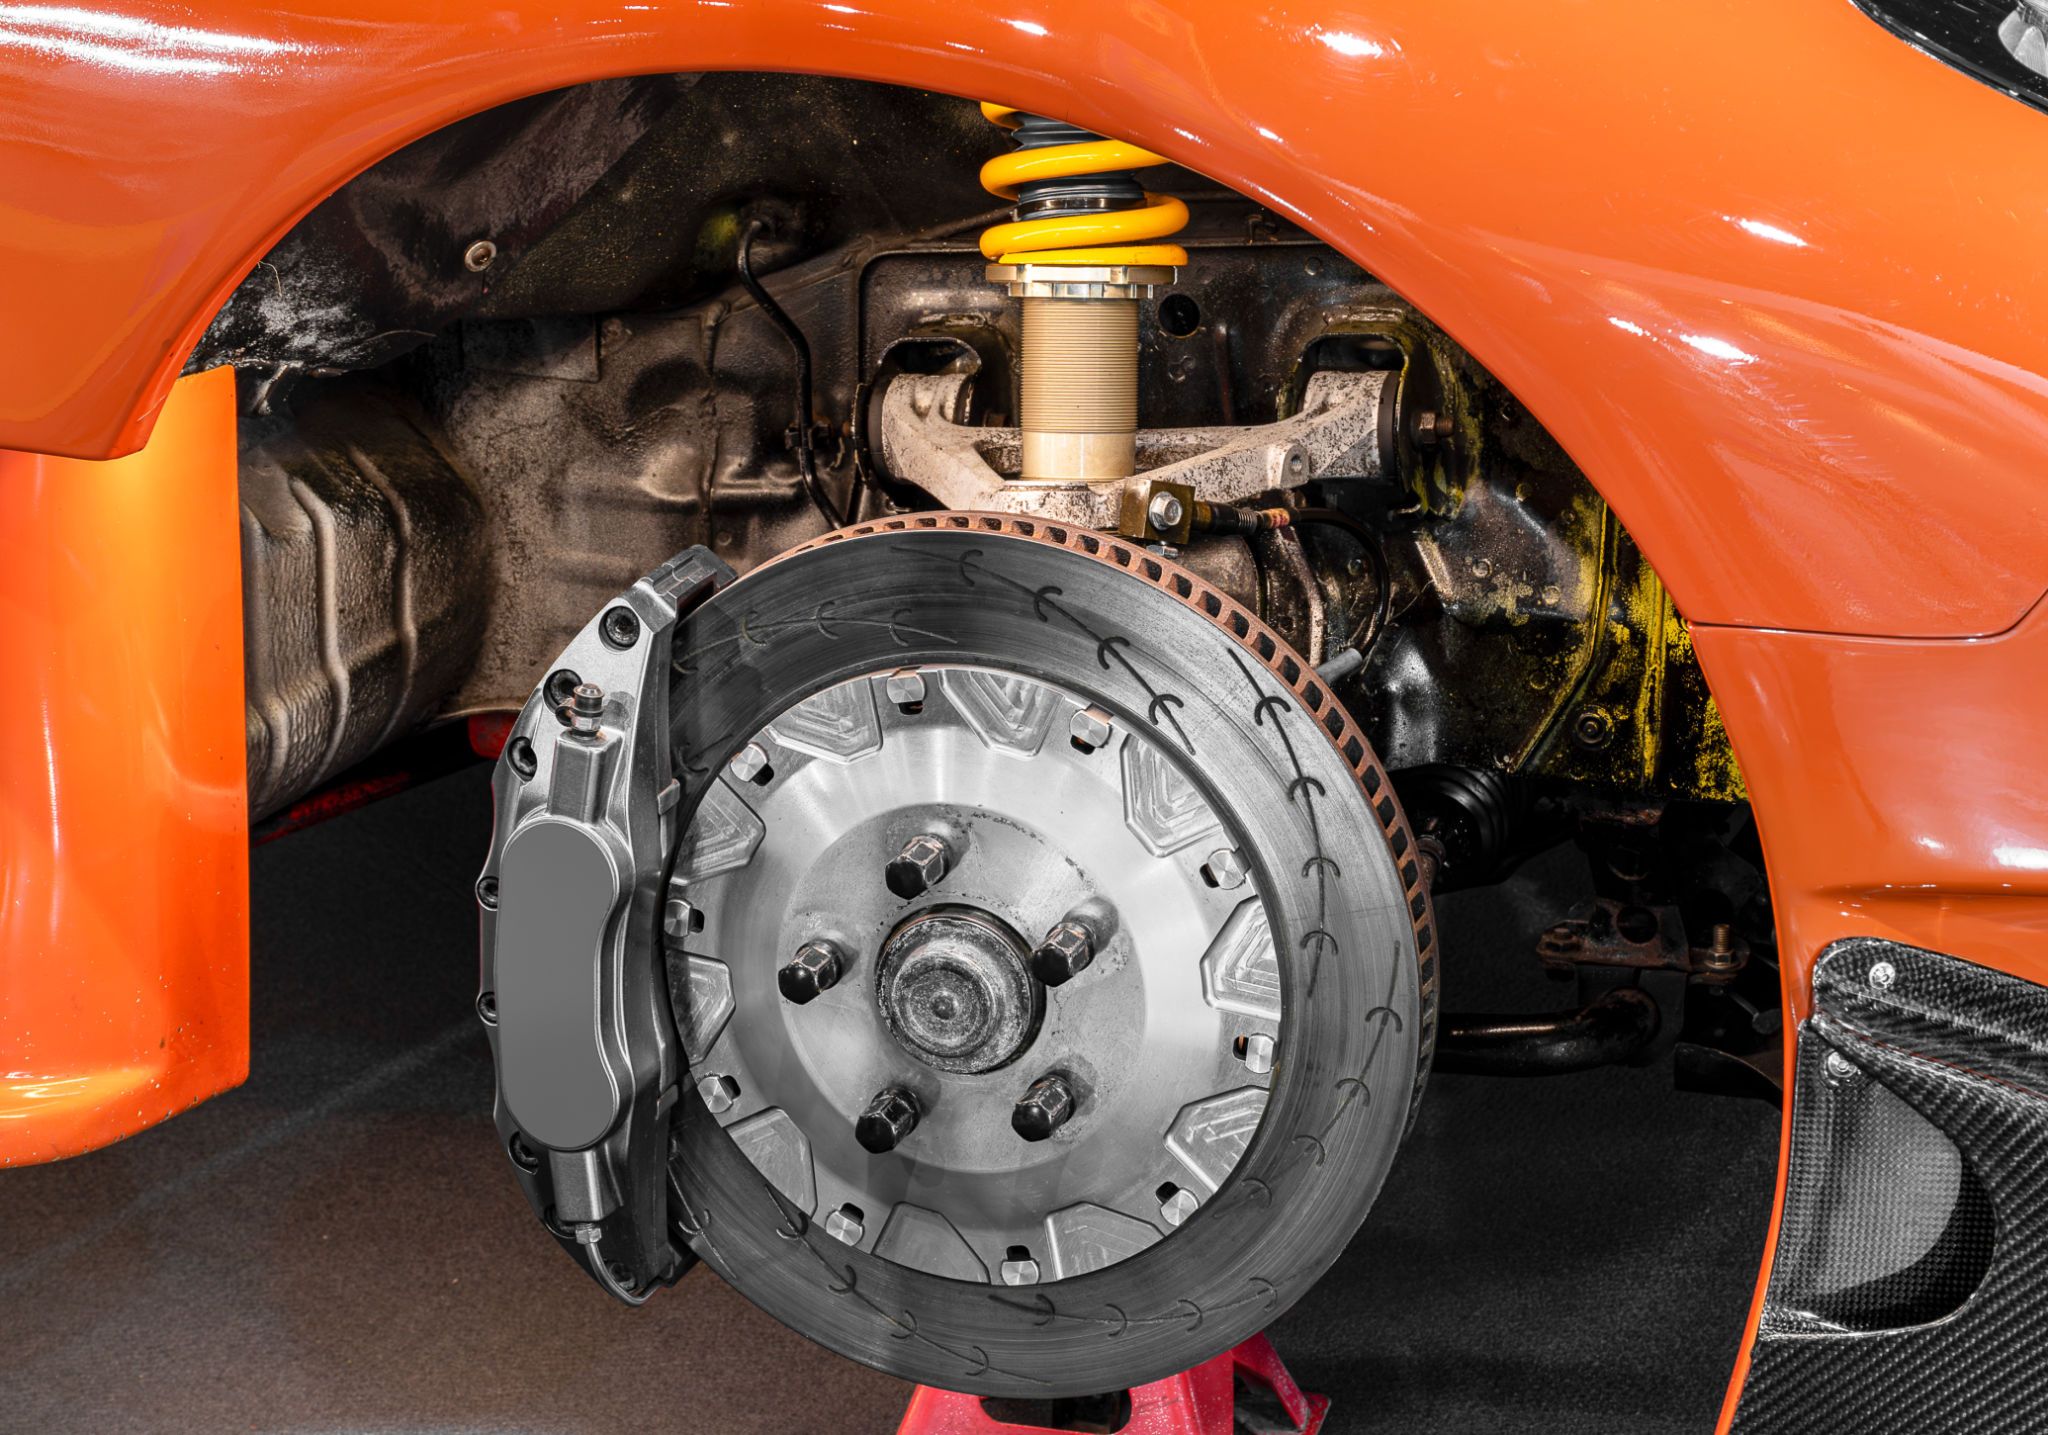
Begin by removing any existing components that may interfere with the installation of the lift kit. This includes wheels, shocks, and springs. Follow the manufacturer's instructions to ensure you're detaching parts correctly.
Step 2: Install the Lift Components
Once all interfering components are removed, proceed to install the new lift kit parts. If you're installing a body lift kit, attach the spacers between the body and frame. For suspension kits, replace stock springs and shocks with the new components provided in your kit.
It's important to double-check all fasteners are tightened to the specified torque settings to ensure safety and reliability during use.
Step 3: Reattach and Adjust
After installing the lift components, reattach any parts that were removed earlier. This includes reinstalling the wheels and making necessary adjustments to steering components to maintain proper alignment.

Post-Installation Checks
Once your lift kit is installed, perform a thorough inspection to ensure everything is secure and functioning correctly. Check for any loose bolts or unusual noises when driving. It's advisable to have a professional alignment done to ensure your truck handles safely on the road.
Taking your truck for a test drive on different terrains can help identify any issues that need addressing. This step ensures that your vehicle is ready for both on-road and off-road adventures.
Maintenance Tips for Lifted Trucks
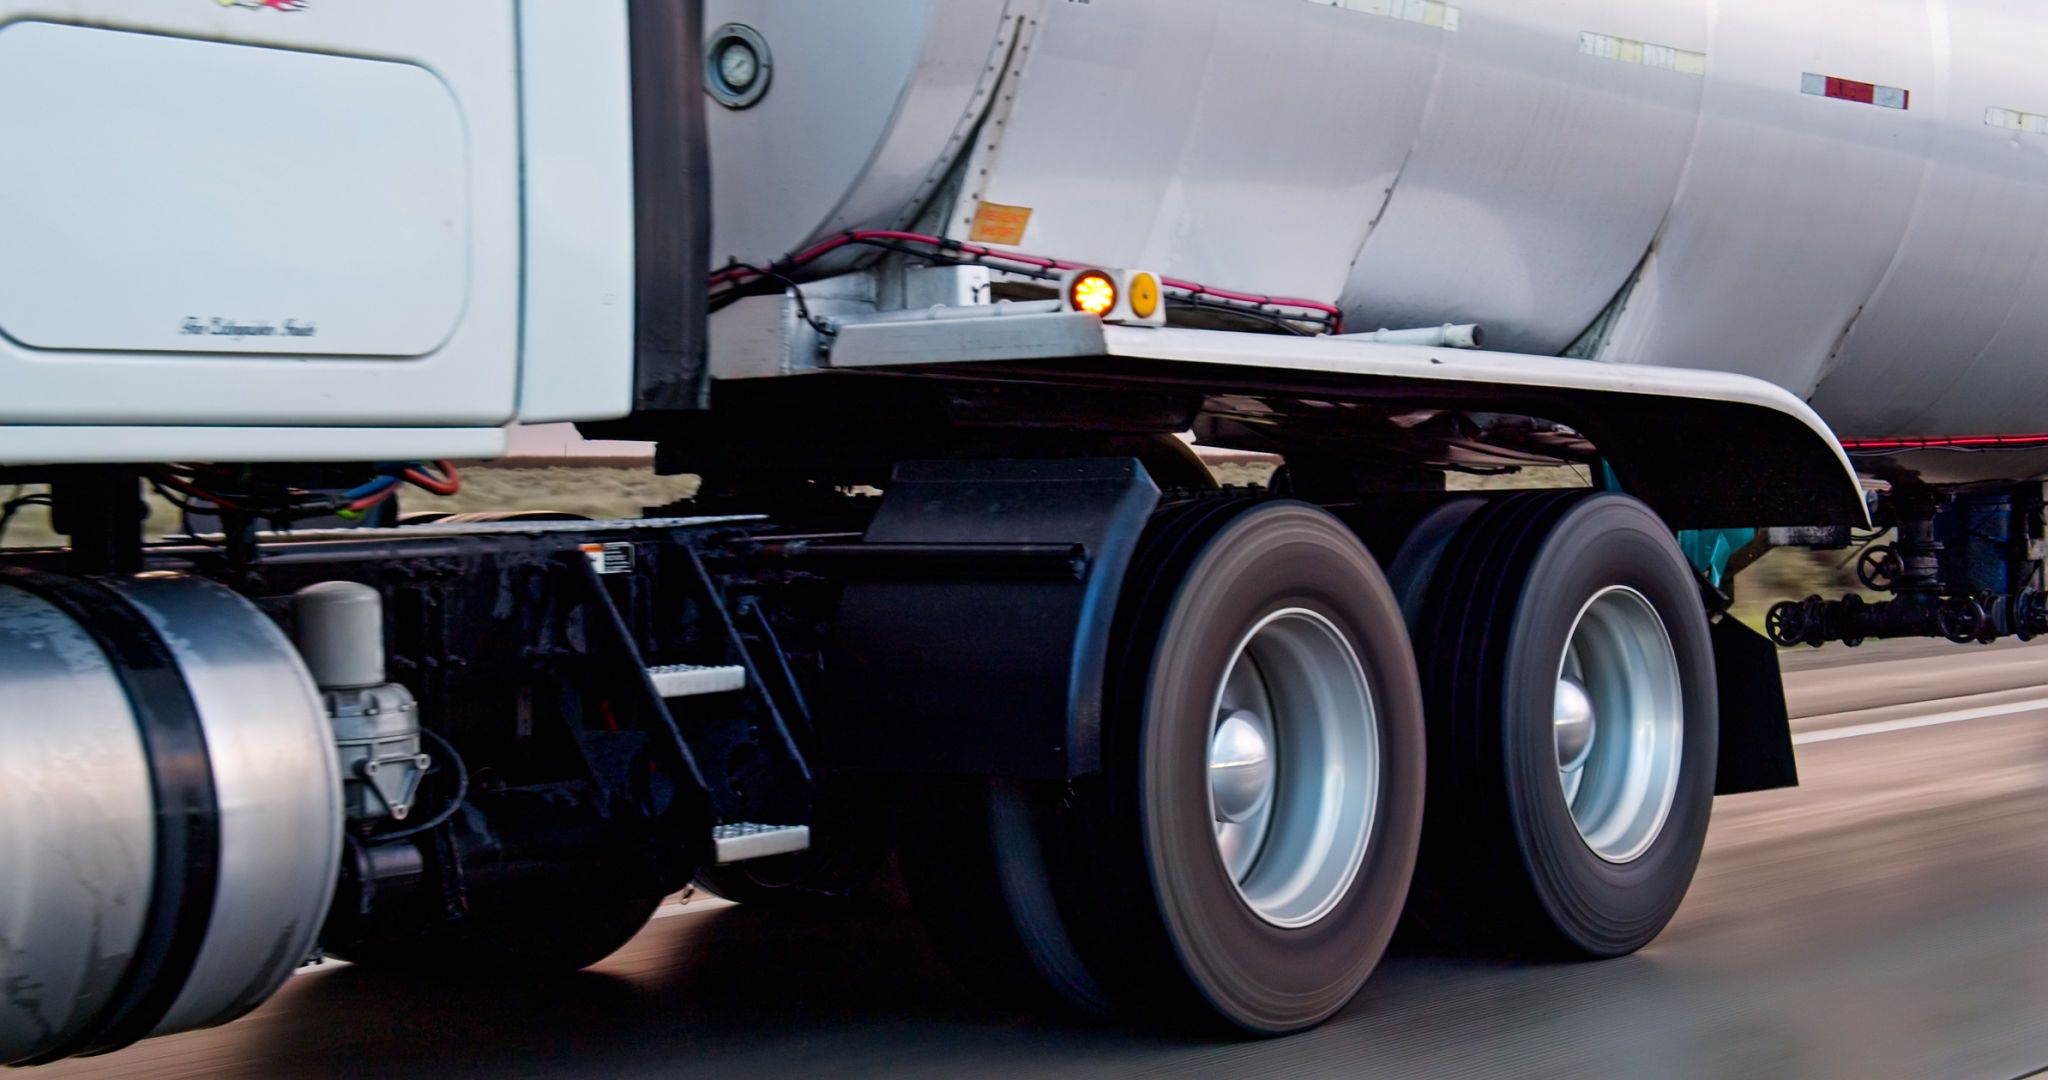
Regular maintenance is essential to keep your lifted truck in top condition. Routinely check suspension components for signs of wear or damage. Keeping an eye on tire alignment and pressure is also crucial to prevent uneven tire wear.
By following these DIY installation tips and maintenance practices, you can enjoy a safe and improved driving experience with your newly lifted truck. Whether you're hitting rugged trails or cruising through city streets, your elevated ride will surely turn heads.