
How to Install a Lift Kit: A Step-by-Step DIY Tutorial


Understanding Lift Kits
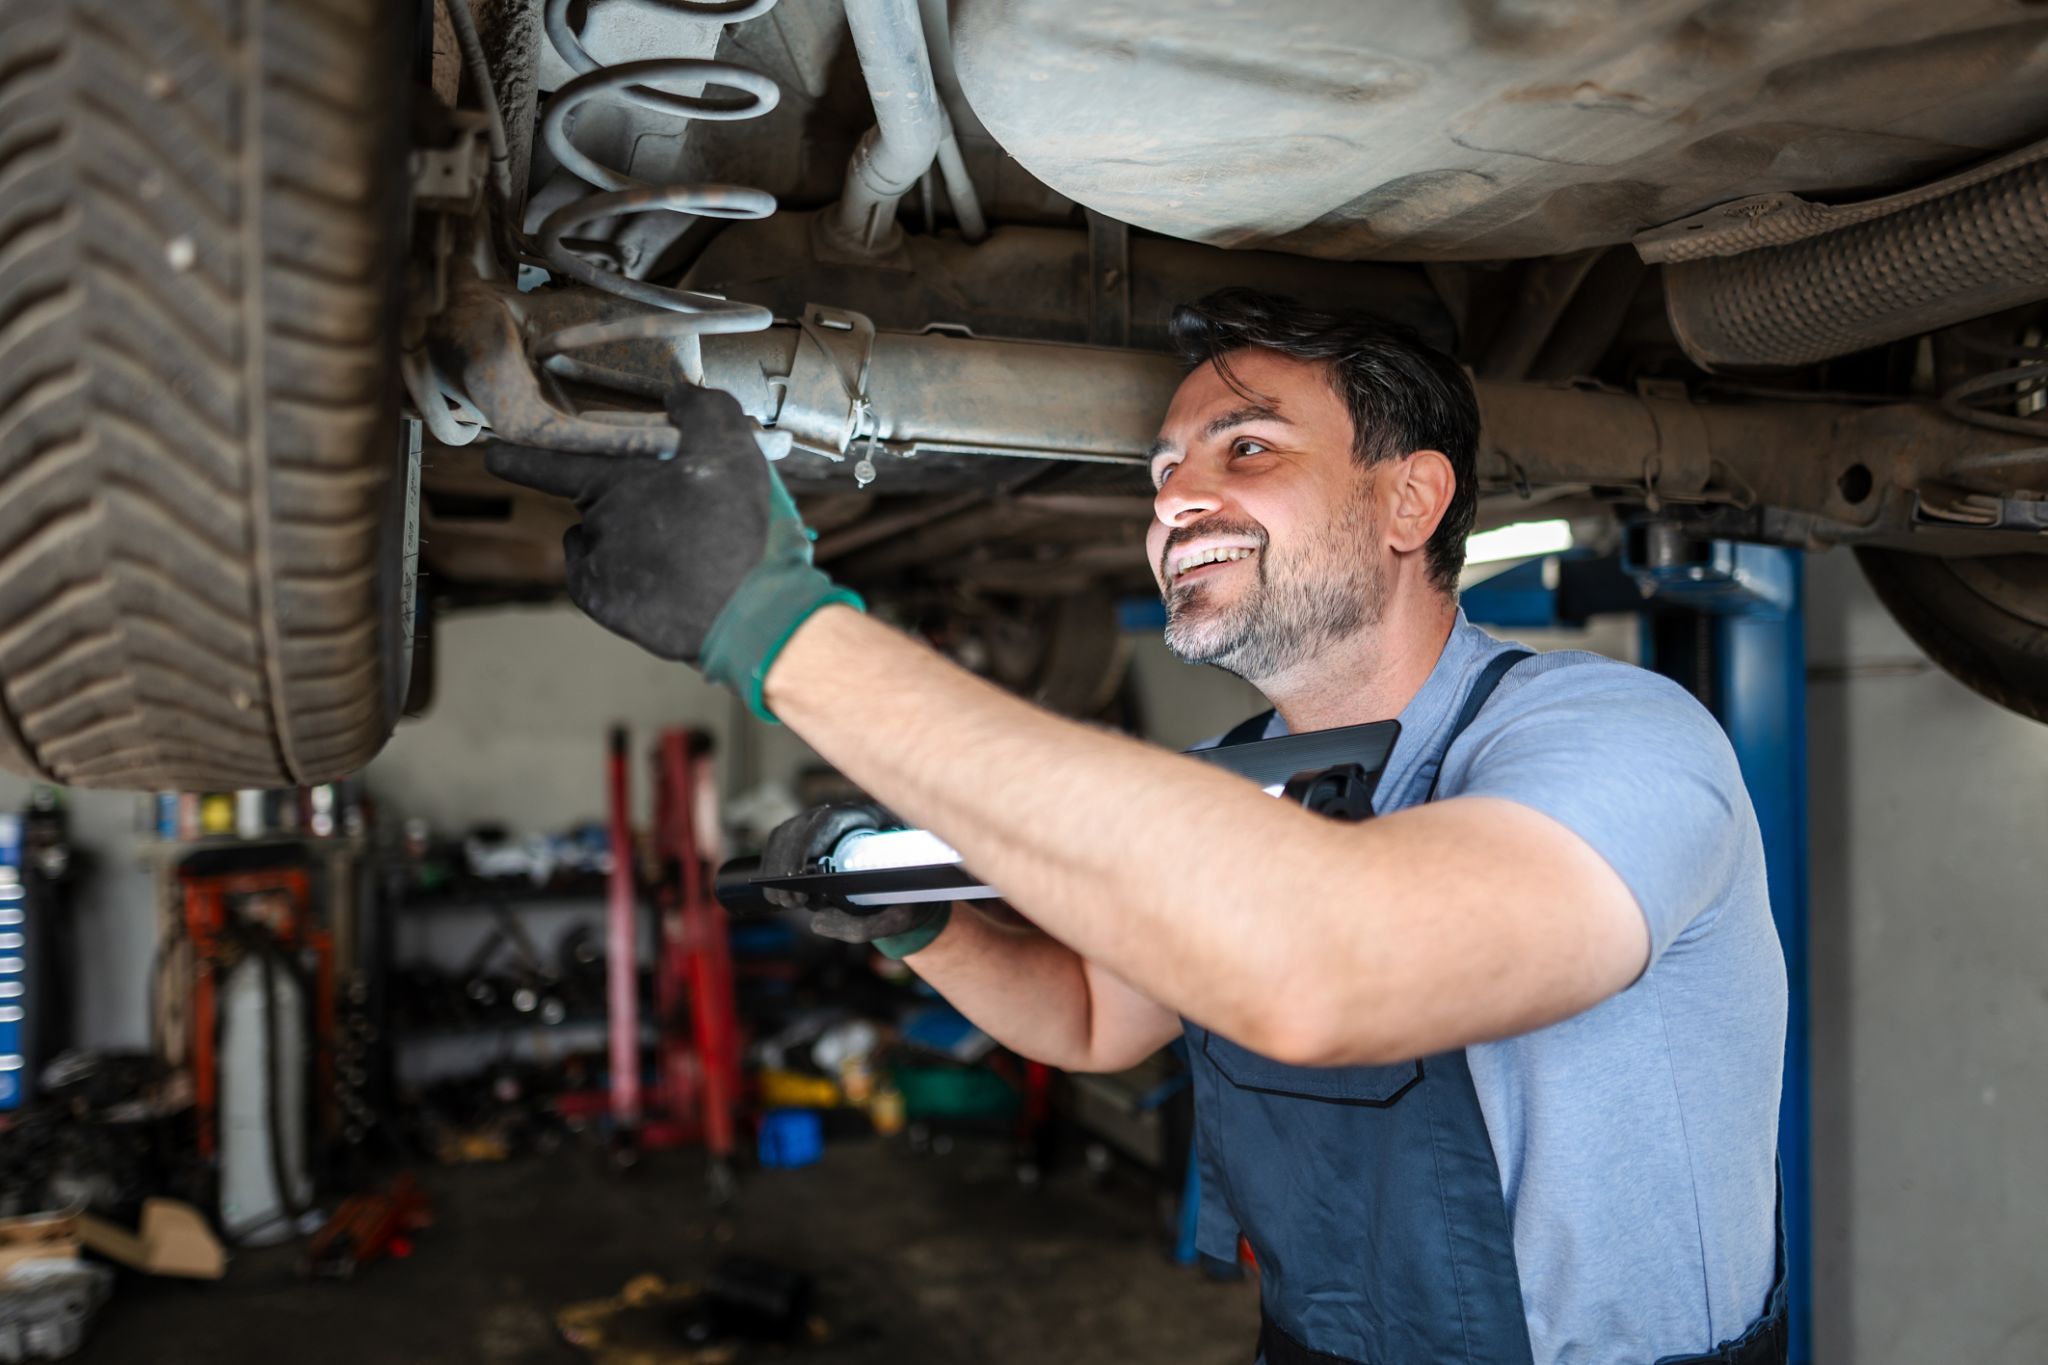
Installing a lift kit can transform your vehicle's appearance and performance. Whether you're looking to conquer off-road trails or simply want a more commanding view of the road, a lift kit can provide the necessary elevation. This guide will walk you through the process of installing a lift kit yourself, saving you time and money.

Gathering the Right Tools
Before starting, ensure you have the necessary tools. You'll typically need a jack, jack stands, lug wrench, socket set, and torque wrench. Having the right tools on hand will make the installation process smoother and more efficient.
It's also essential to have a good workspace. Ensure your vehicle is on a flat surface and that you have adequate lighting. Safety should be your top priority, so take the time to prepare properly.
Selecting the Appropriate Lift Kit
Choosing the right lift kit for your vehicle is crucial. Consider the type of driving you'll be doing and the height increase you desire. Lift kits come in various sizes and configurations, so make sure the one you choose is compatible with your vehicle's make and model.
Research thoroughly and consult with professionals if necessary. A well-chosen lift kit will ensure optimal performance and safety.

Step-by-Step Installation Process
Step 1: Prepare Your Vehicle
Start by loosening the lug nuts on the wheels but do not remove them yet. Raise your vehicle using a jack and secure it with jack stands. Ensure it's stable before proceeding. Remove the wheels to access the suspension components.
Step 2: Remove Existing Components
Carefully remove the existing shocks and springs from your vehicle. This process may vary depending on the vehicle, so refer to your vehicle's manual for specific instructions. Keep track of all parts and bolts as you'll need them later.
Step 3: Install the Lift Kit
Follow the lift kit manufacturer's instructions for installation. Typically, this will involve replacing the old shocks and springs with new components from the lift kit. Ensure everything is tightly secured and properly aligned.
Finishing Touches
Once the lift kit is installed, reattach the wheels and tighten the lug nuts. Lower your vehicle to the ground and use a torque wrench to ensure all bolts and nuts are properly tightened. Double-check your work to ensure everything is secure.
Take your vehicle for a test drive to assess the changes. Pay attention to the handling and any unusual noises. If something feels off, recheck your installation for any loose components.
Post-Installation Maintenance
After a few weeks of driving, it's a good idea to recheck all components to ensure they remain tight and secure. Regular maintenance will prolong the life of your lift kit and ensure your vehicle performs optimally.
Installing a lift kit can be a rewarding project that enhances both the look and functionality of your vehicle. With careful planning and attention to detail, you can achieve professional results on your own.