
How to Install a Lift Kit: A Step-by-Step Guide for DIY Enthusiasts


Introduction to Lift Kits
For those passionate about off-roading or simply wanting to give their vehicle a more rugged look, installing a lift kit can be an exciting project. A lift kit raises your vehicle's suspension, giving it a higher ground clearance and the ability to tackle tougher terrains. This guide will walk you through the process of installing a lift kit yourself, ensuring you do it safely and efficiently.
Gathering Your Tools and Materials
Before you begin, it’s crucial to gather all the necessary tools and materials. You’ll need a jack, jack stands, a torque wrench, sockets, and screwdrivers. Additionally, having a friend assist you can make the process smoother and safer. Ensure you have the right lift kit for your vehicle model to avoid any compatibility issues.
Safety First
Safety should always be a priority when working on any vehicle modifications. Make sure your car is parked on a flat surface and is securely supported by jack stands. Never rely solely on a hydraulic jack when working under your vehicle. Wearing protective gear like gloves and safety goggles is also recommended.
Step-by-Step Installation Guide
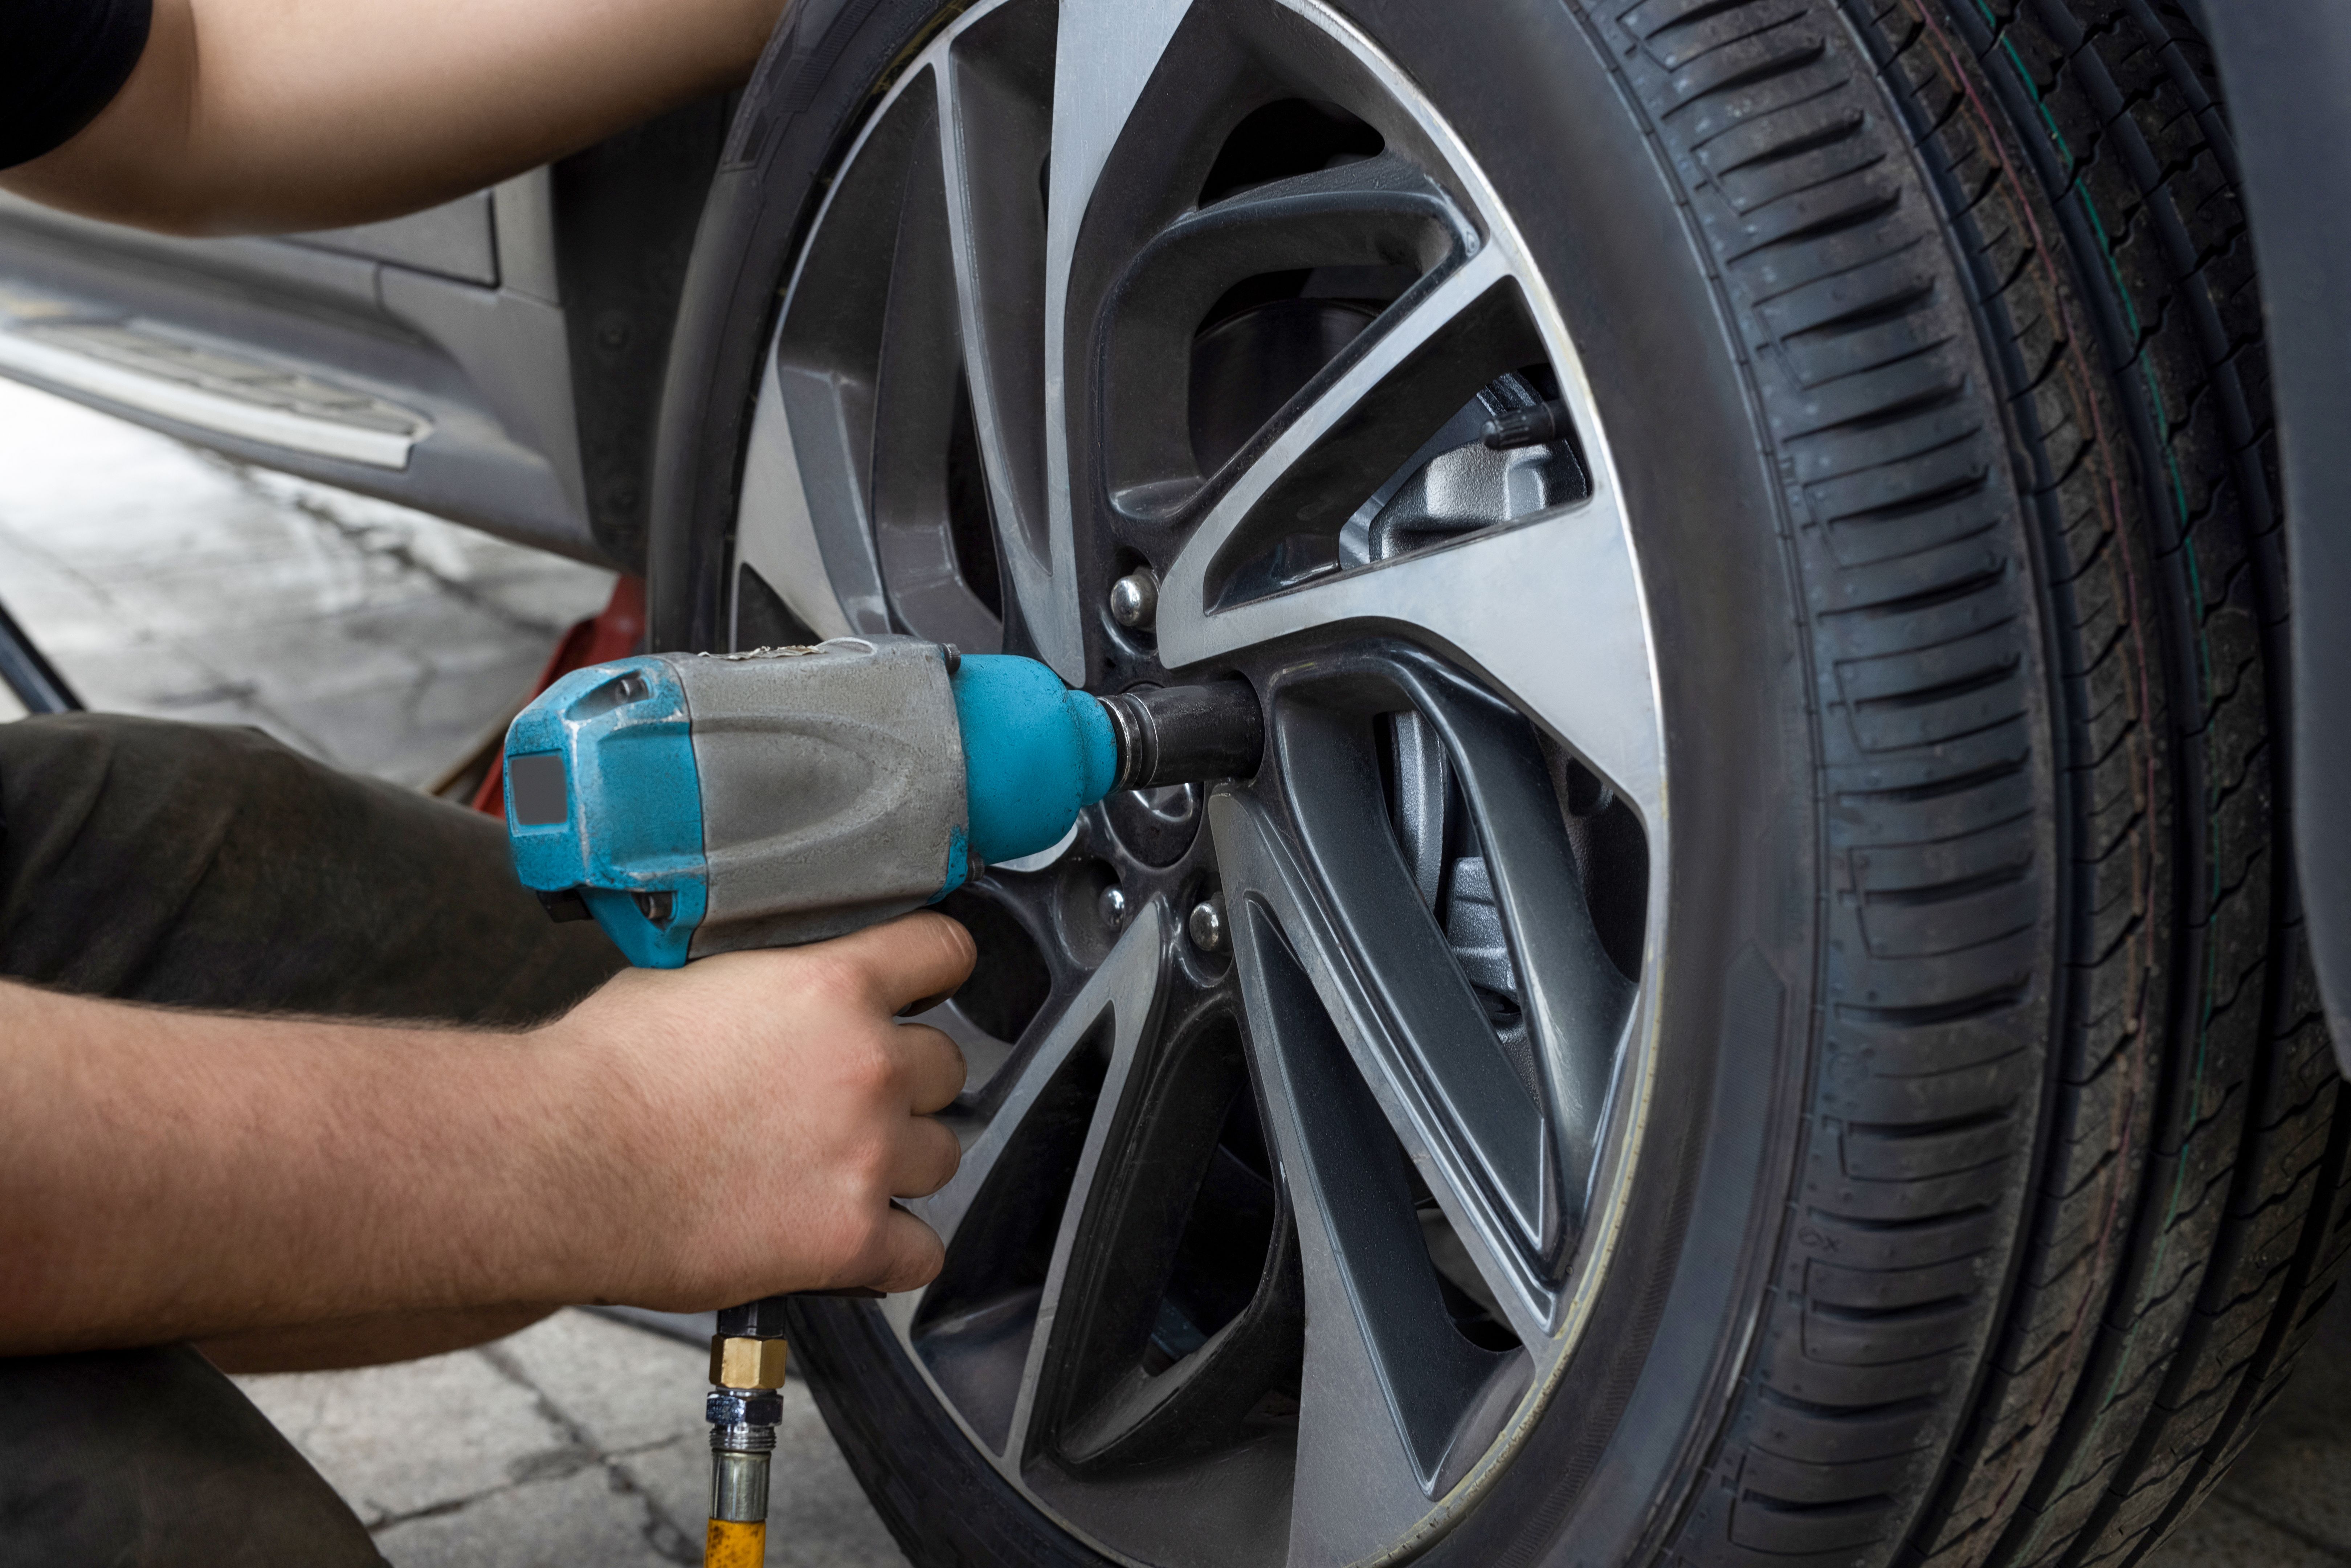
Step 1: Remove the Wheels
Begin by loosening the lug nuts on your wheels before lifting the vehicle. Once the car is elevated and stable, remove the wheels completely to access the suspension components.
Step 2: Detach the Shock Absorbers
With the wheels off, you can now remove the shock absorbers. This typically involves unbolting them from both the top and bottom mounts. Keep these bolts as you will need them for reinstallation.
Installing the Lift Kit
Step 3: Install the New Components
Follow the instructions provided with your lift kit carefully. Generally, you will need to replace or adjust components such as coil springs or leaf springs, depending on your vehicle’s suspension type.
Step 4: Reattach Shock Absorbers
Once the new components are in place, reattach your shock absorbers using the bolts you saved earlier. Ensure they are tightened to the specifications outlined in your lift kit’s manual.
Final Adjustments and Testing
Step 5: Reinstall the Wheels
With everything in place, you can now put your wheels back on. Tighten the lug nuts in a crisscross pattern to ensure even pressure distribution.

Step 6: Test Drive
Lower the vehicle carefully and take it for a test drive. Pay attention to any unusual noises or handling issues, as these may indicate a problem with the installation. If everything feels right, congratulations—you’ve successfully installed your lift kit!
Maintaining Your Lifted Vehicle
After installation, regular maintenance checks are crucial to ensure everything remains in top condition. Periodically inspect bolts and components for any signs of wear or loosening. Keeping up with routine maintenance will help prolong the life of your lift kit and keep your vehicle safe on all terrains.