
How to Install a Truck Lift Kit: A Step-by-Step DIY Guide


Installing a truck lift kit can significantly enhance your vehicle's performance, offering better ground clearance and an aggressive look. Although it might seem daunting, with the right tools and guidance, you can tackle this project in your own garage. This step-by-step guide will walk you through the process, ensuring your lift kit is installed safely and effectively.
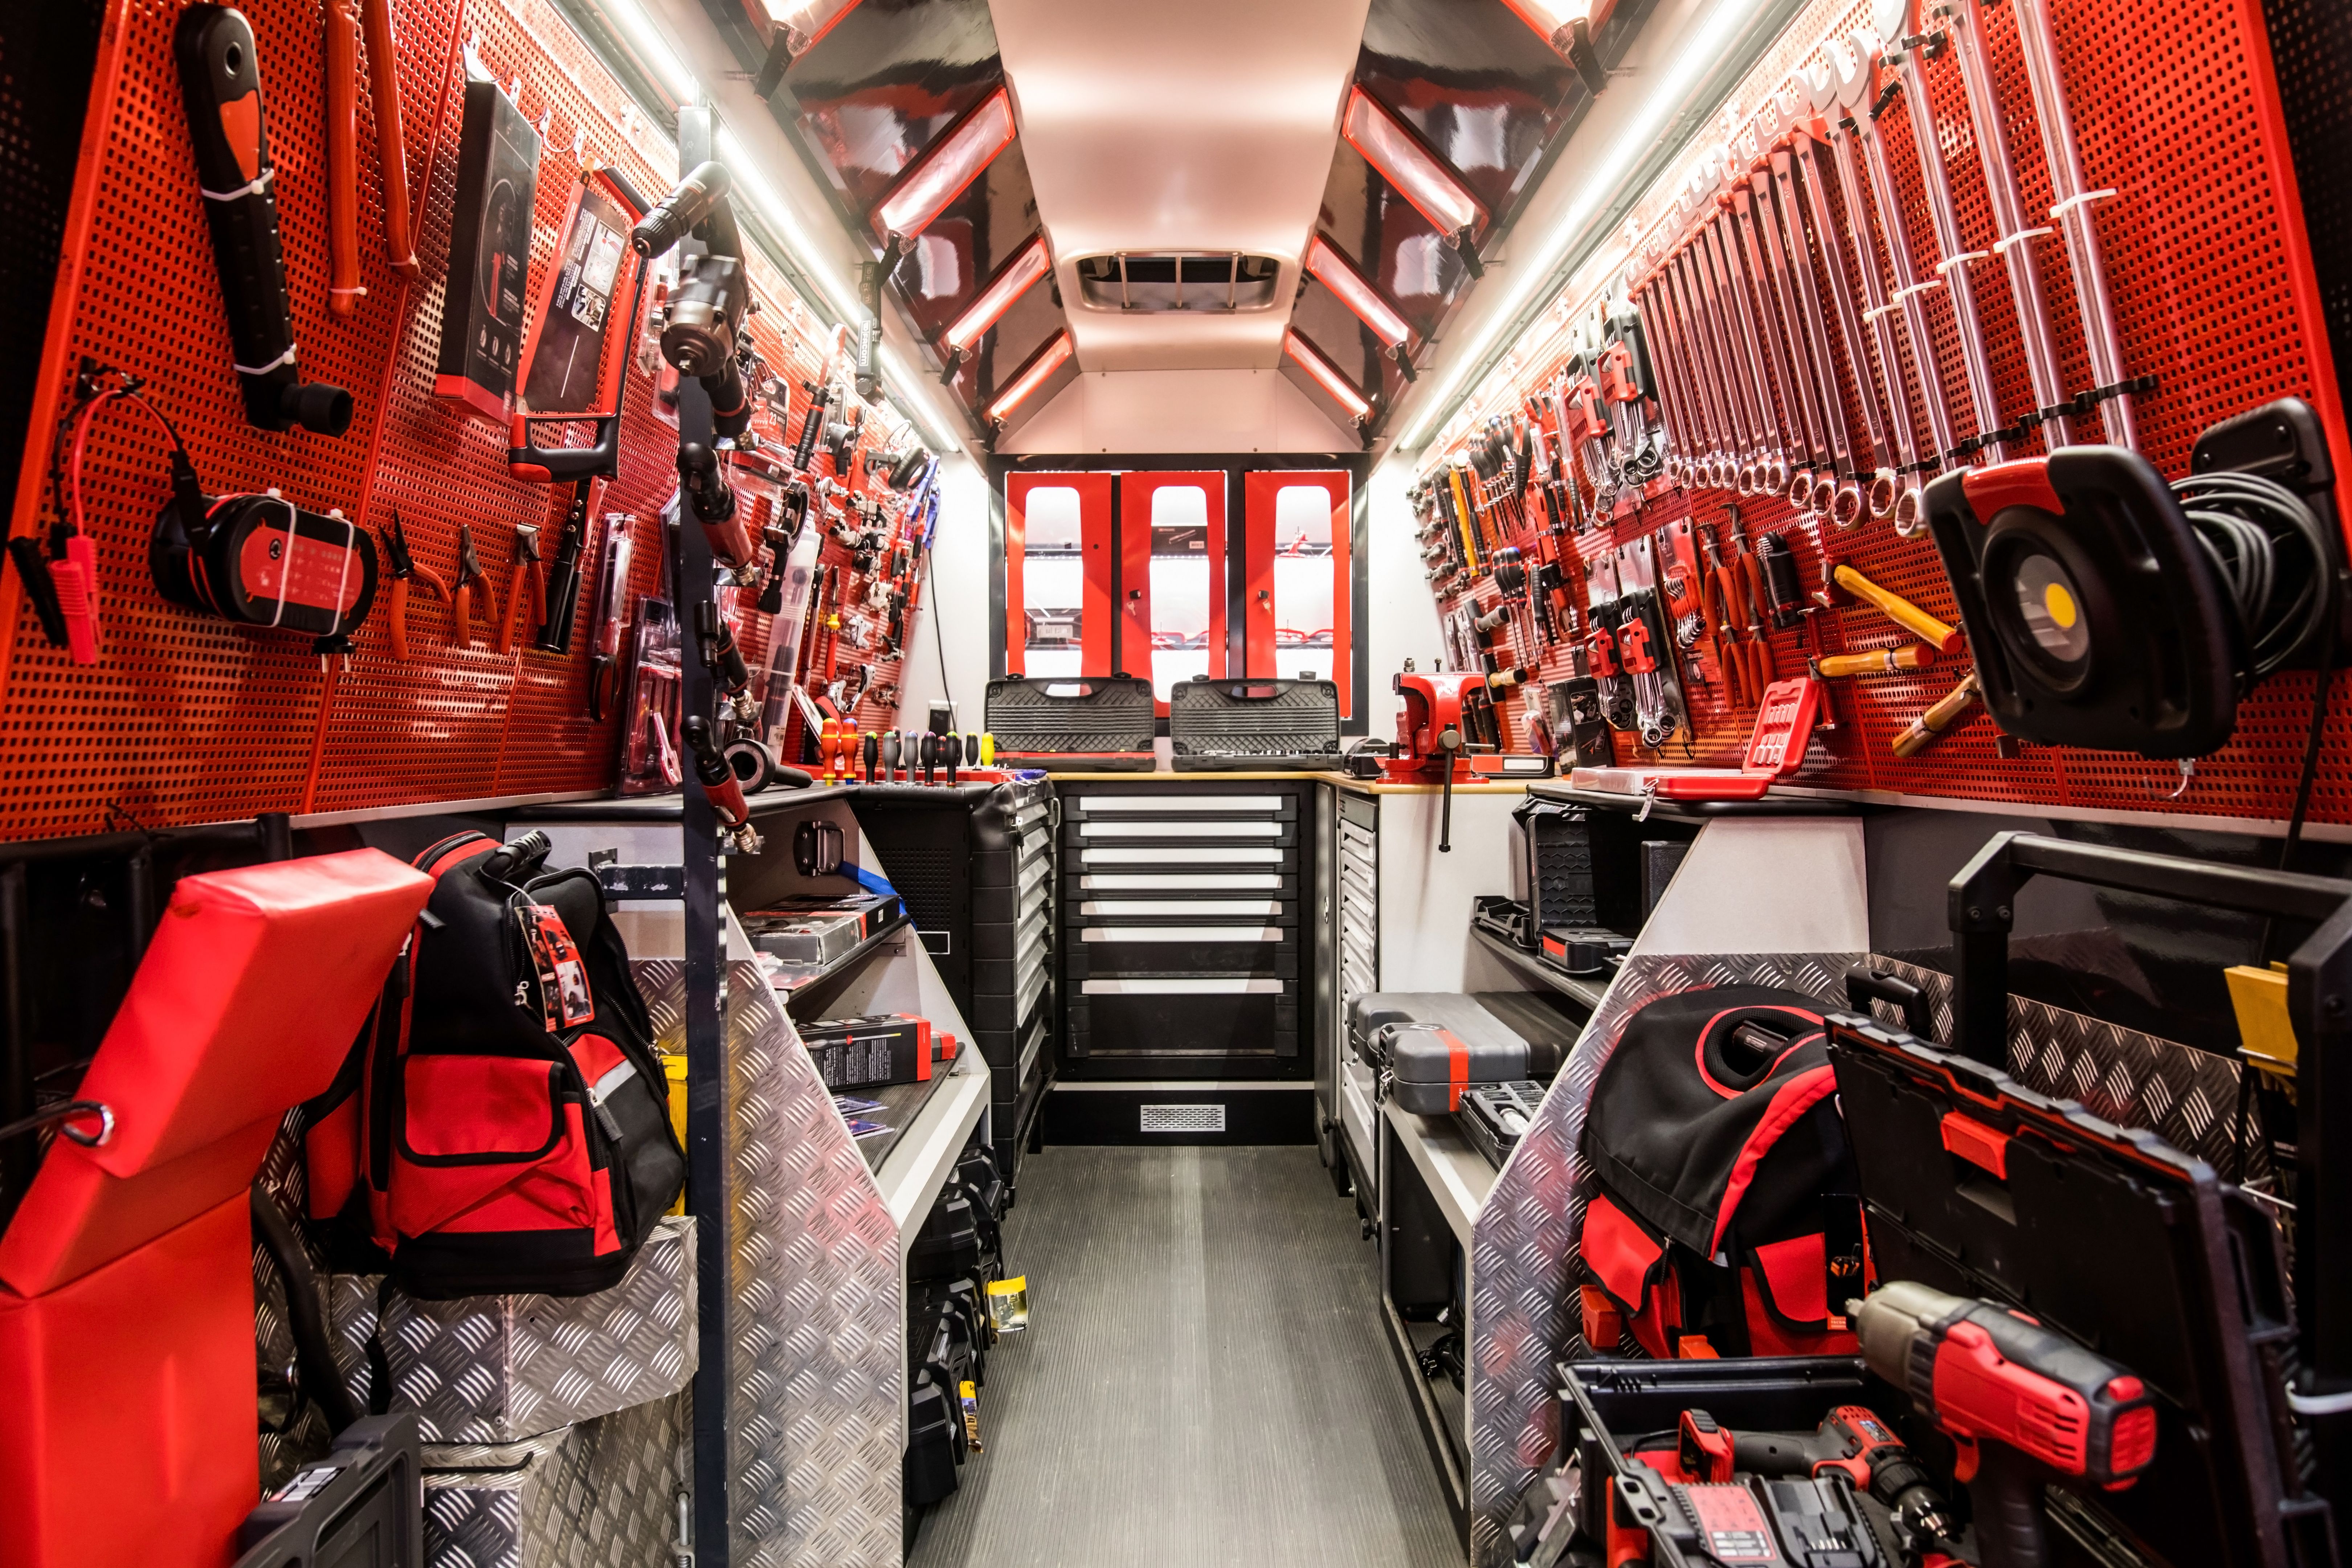
Gathering the Necessary Tools and Materials
Before diving into the installation, ensure you have all the necessary tools and materials. You will need a jack and jack stands, a torque wrench, socket and wrench sets, lubricant, and safety gear such as gloves and goggles. Having everything on hand will streamline the process and minimize interruptions.
Choosing the Right Lift Kit
Selecting the appropriate lift kit for your truck is crucial for achieving the desired lift and maintaining the vehicle's performance. Consider factors such as your truck model, the lift height you want, and whether you'll be off-roading. Consult with professionals or forums if you're unsure about the best option for your needs.
Preparing Your Truck
Start by parking your truck on a level surface and engaging the parking brake. Loosen the lug nuts on your wheels but do not remove them yet. Next, use the jack to elevate the truck and secure it using jack stands. Ensure the vehicle is stable before proceeding to avoid any accidents.
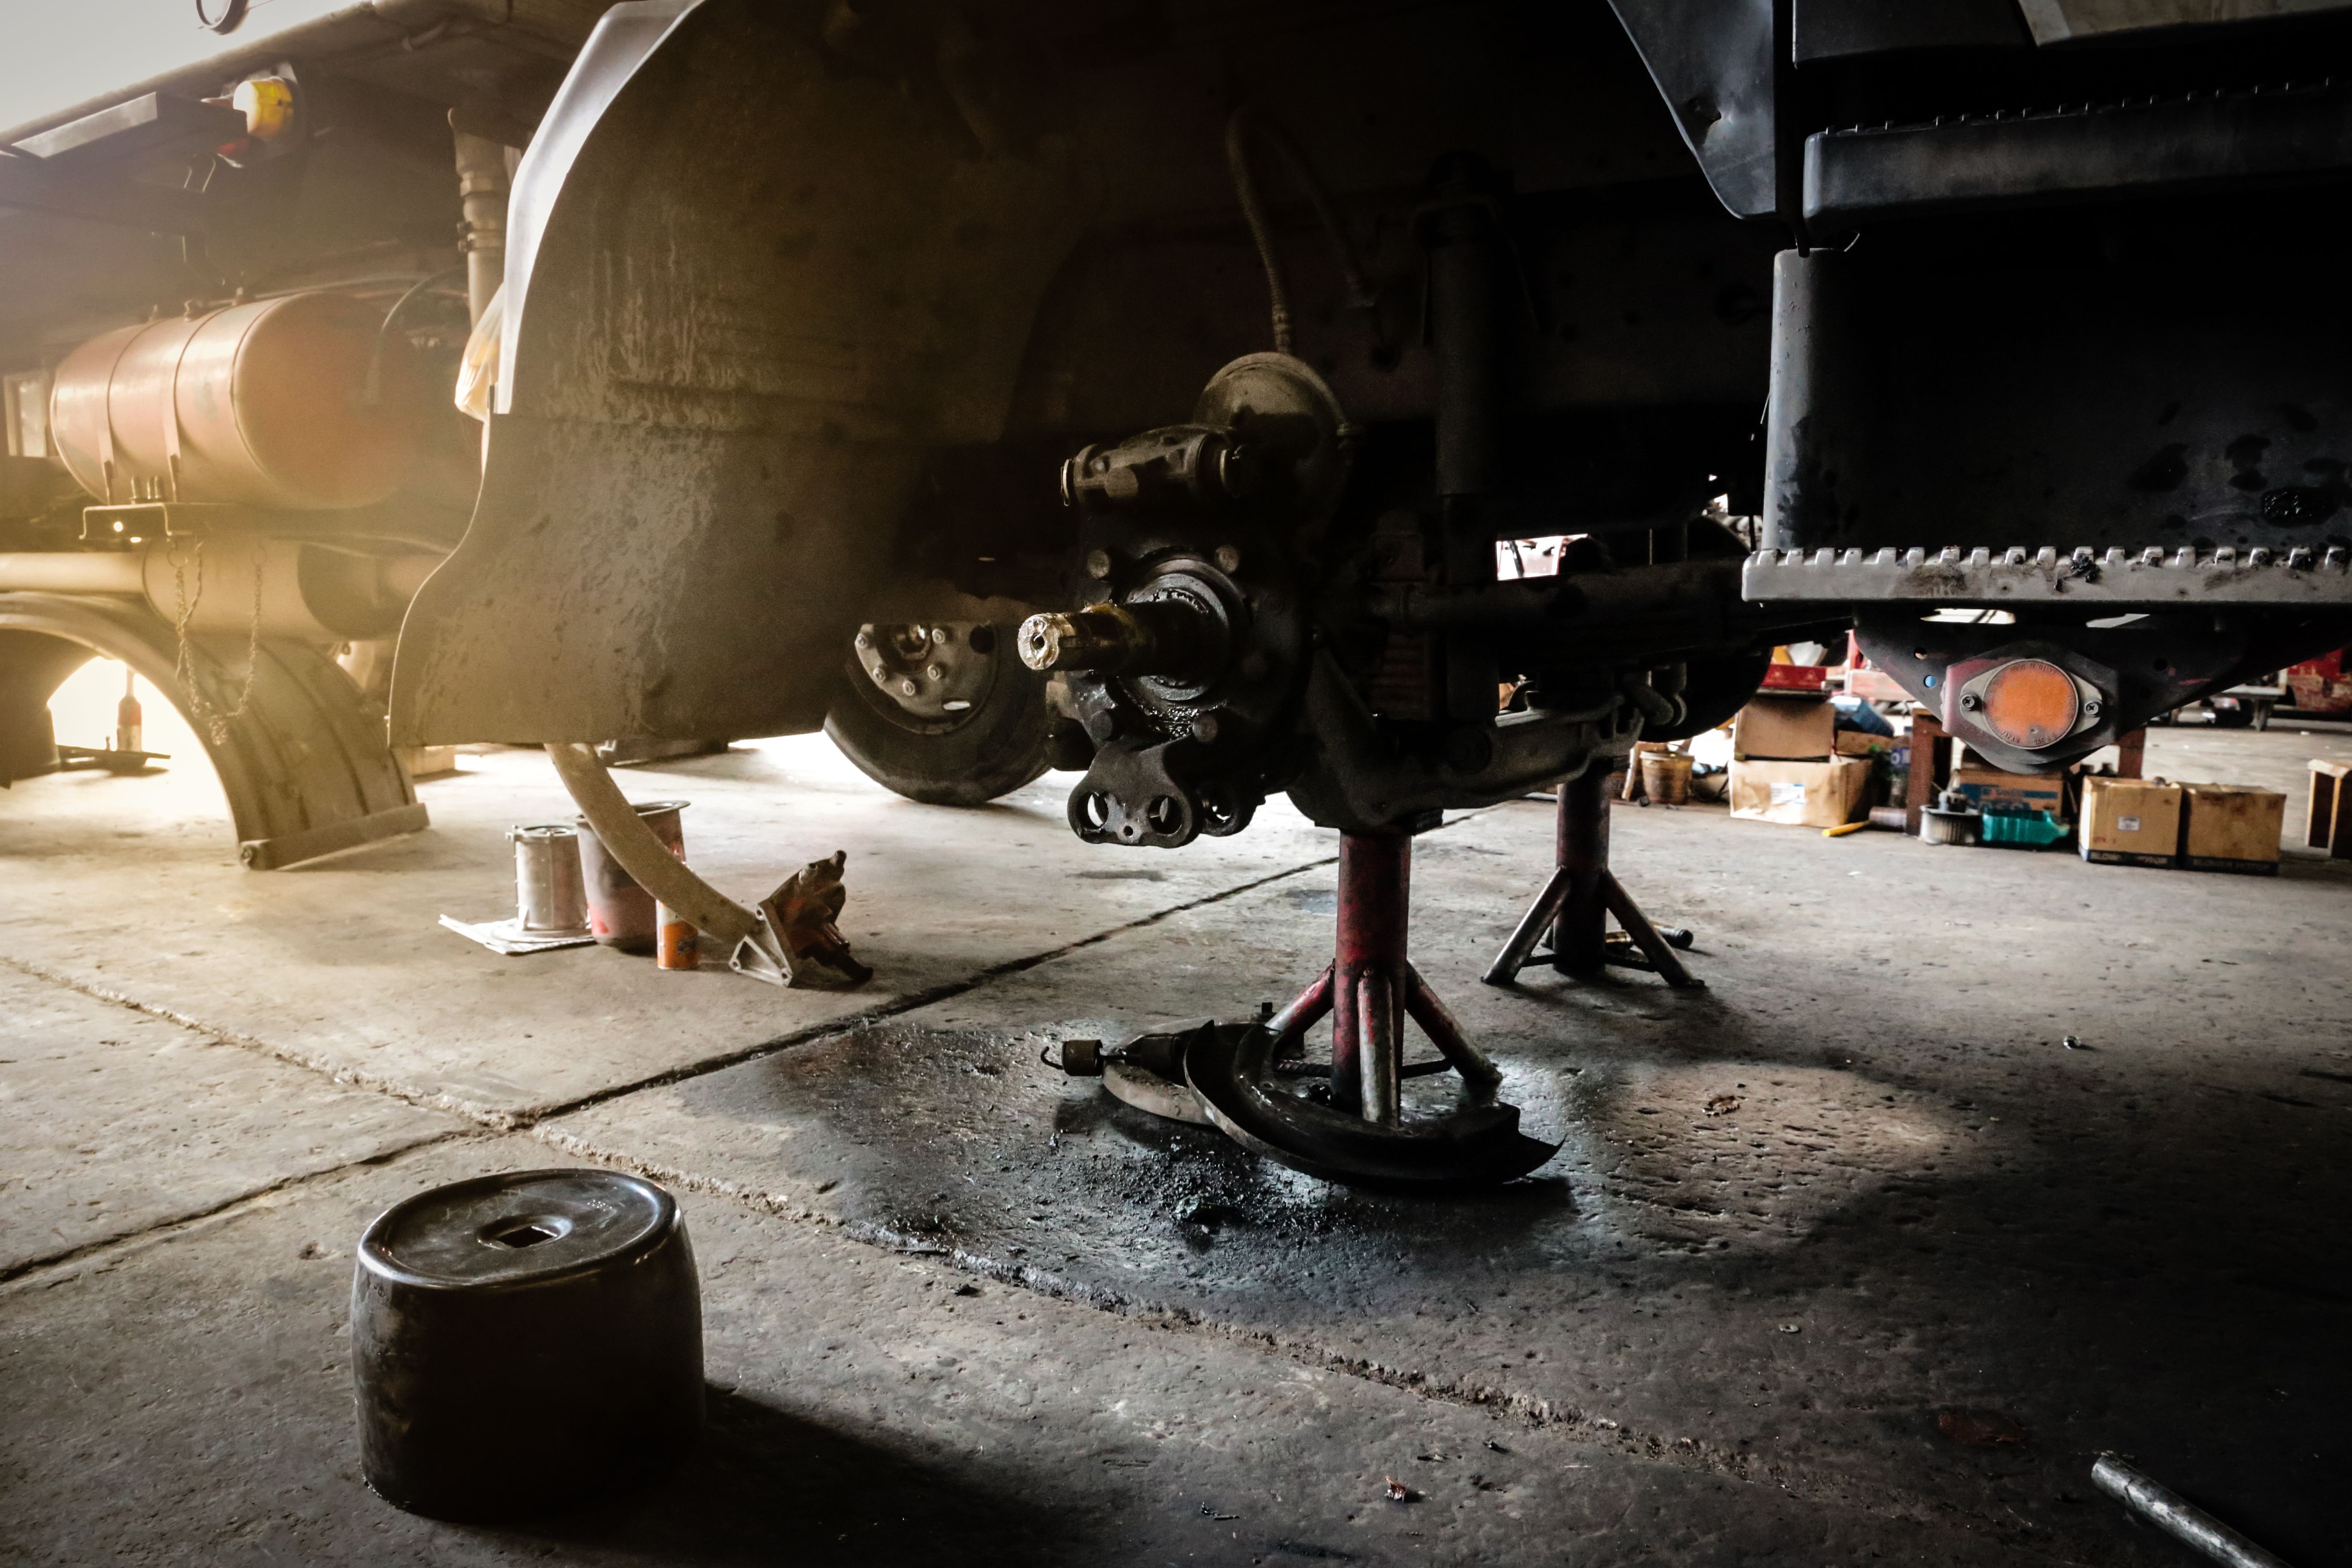
Removing the Existing Suspension Components
With the truck safely lifted, remove the wheels to access the suspension components. Carefully unbolt the shock absorbers, springs, and any other parts specified by your lift kit instructions. Take note of how everything is assembled to make reinstallation easier.
Installing the New Lift Kit
Now it’s time to install the new components from your lift kit. Begin by positioning and securing any new brackets or extensions included in the kit. Install the new shock absorbers and springs, ensuring they are properly aligned. Use a torque wrench to tighten all bolts to the specifications provided in your kit instructions.

Reassembling Your Truck
Once the new components are securely in place, reattach the wheels. Hand-tighten the lug nuts before lowering your truck back to the ground. Once on solid ground, use a torque wrench to fully tighten the lug nuts in a criss-cross pattern to ensure even pressure.
Final Checks and Adjustments
With everything reassembled, take a moment to double-check all bolts and components for tightness. It’s also important to get an alignment done after installing a lift kit, as this will ensure proper handling and tire wear.
In conclusion, installing a lift kit on your truck is a rewarding DIY project that can enhance both aesthetics and functionality. By following this guide carefully and taking safety precautions, you’ll be well on your way to enjoying your newly lifted truck on or off the road.